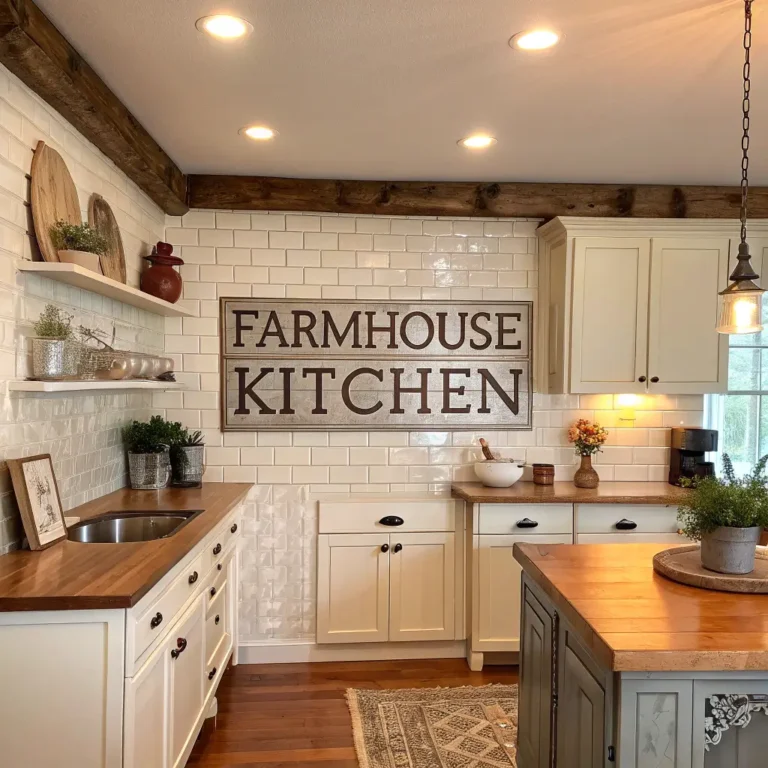
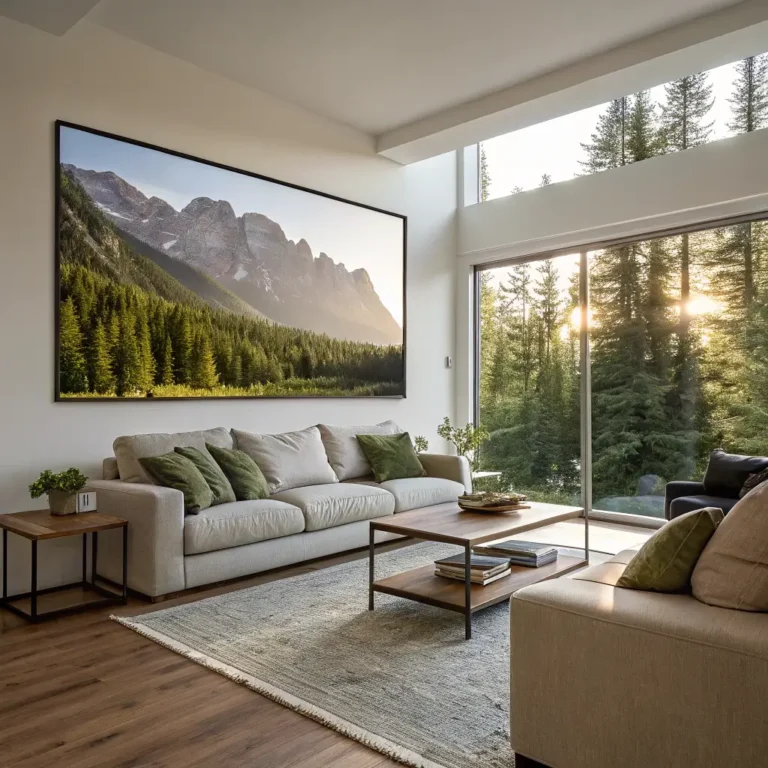
15 DIY Wall Decor Ideas to Transform Your Space
DIY wall decor is a fantastic way to personalize your living space while also saving money. Whether you’re a seasoned crafter or a beginner, there are countless projects that can help you create unique and beautiful wall art. This blog post will guide you through 15 DIY wall decor ideas that are both simple and impactful. From painted canvases to macramé hangings, you’ll find something to suit your style and skill level.
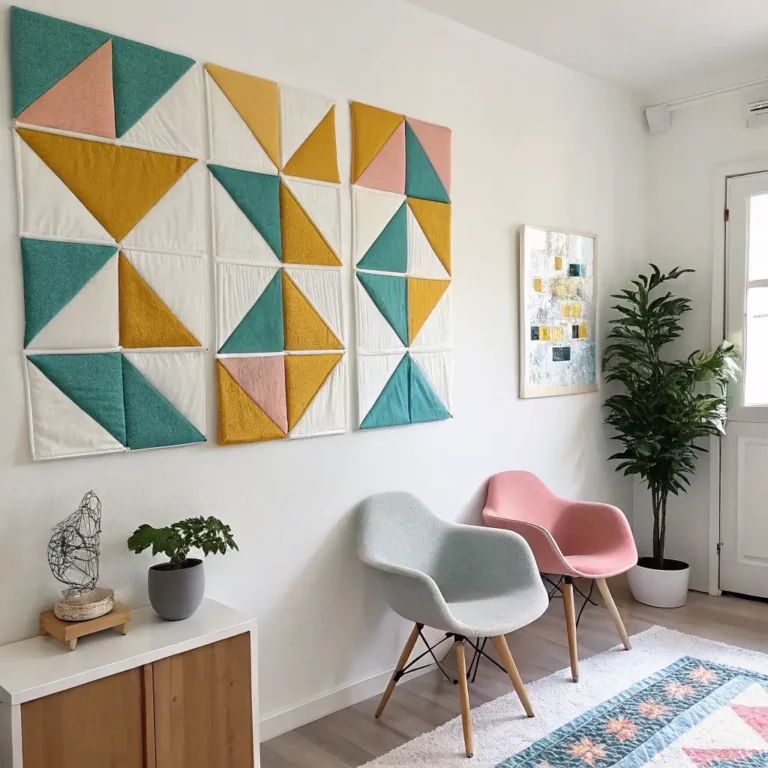
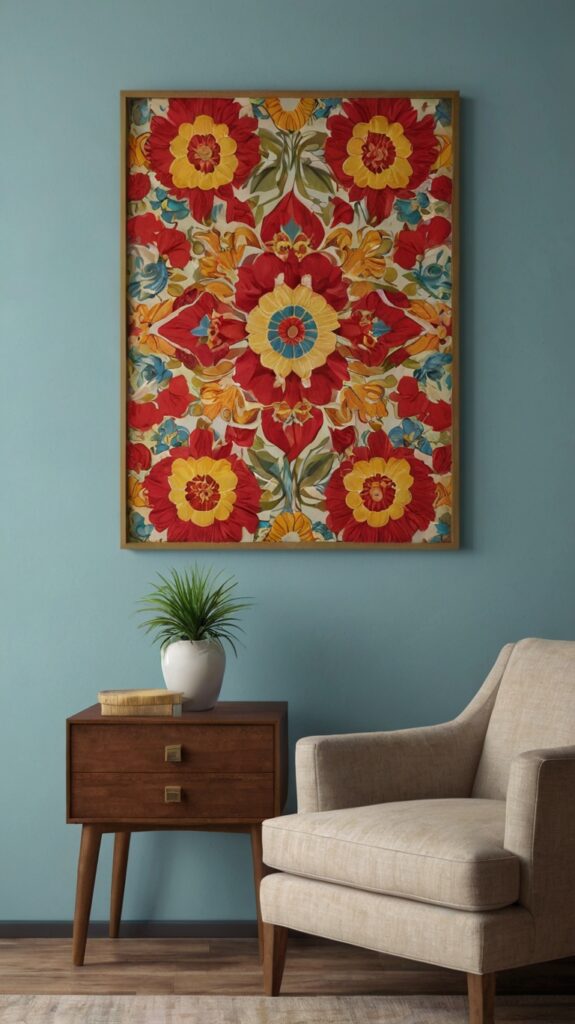
1. Painted Canvas Art

Materials Needed:
- Canvas
- Acrylic paint
- Paintbrushes
- Painter’s tape
Instructions:
- Choose a canvas size that fits your wall space.
- Use painter’s tape to create geometric shapes or patterns on the canvas.
- Paint the canvas with your desired colors, ensuring the paint is smooth and even.
- Allow the paint to dry completely before removing the tape.
- Hang the canvas on your wall and enjoy your custom artwork.
Also Read: 15 Mirror Wall Decor Ideas to Transform Your Space
2. Macramé Wall Hanging
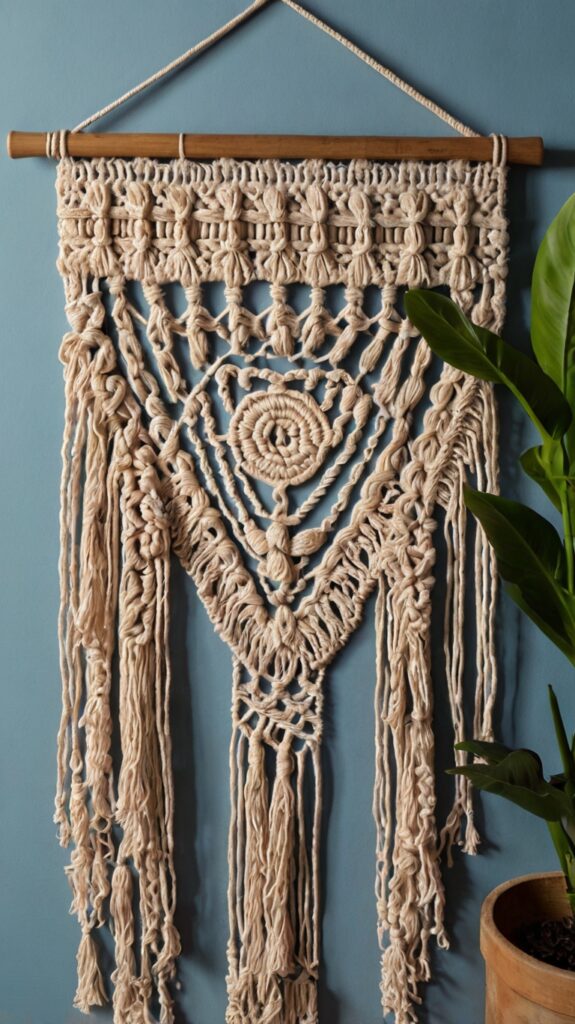
Materials Needed:
- Macramé cord
- Wooden dowel
- Scissors
- Measuring tape
Instructions:
- Cut several strands of macramé cord, each twice the length of your desired hanging.
- Fold each strand in half and loop it over the wooden dowel, pulling the loose ends through the loop to secure.
- Use macramé knots to create your design, such as square knots and spiral knots.
- Trim the ends of the cords for a neat finish.
- Hang the macramé wall hanging on your wall using a nail or hook.
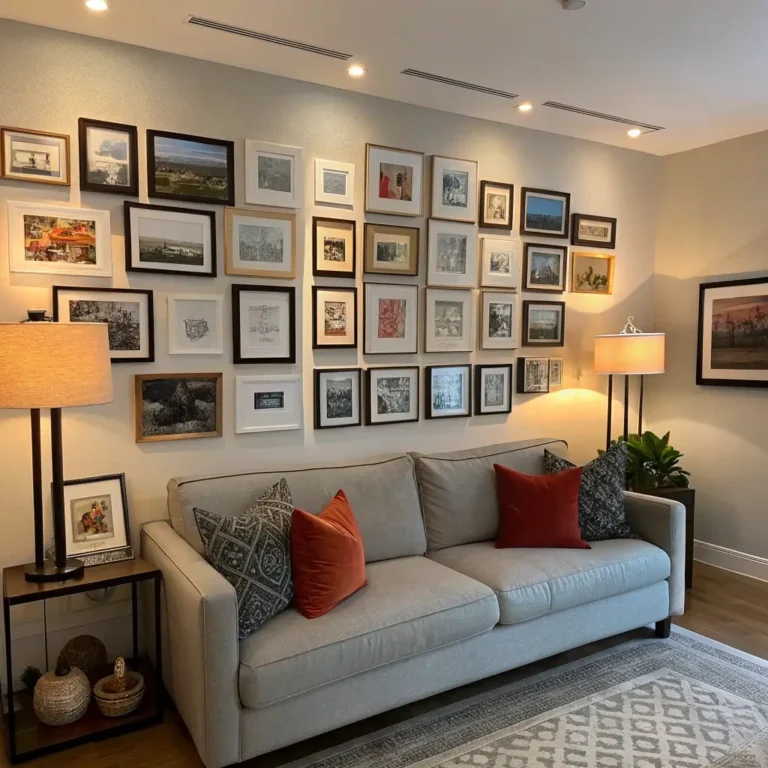
3. Photo Collage

Materials Needed:
- Photos
- Picture frames
- Adhesive
- Scissors
Instructions:
- Select a variety of photos that you love, such as family pictures, travel memories, or favorite moments.
- Choose picture frames that complement your decor and vary in size for a dynamic look.
- Arrange the photos and frames on your wall to create a balanced collage.
- Use adhesive to secure the photos in the frames.
- Hang the frames on your wall, ensuring they are level and evenly spaced.
4. String Art

Materials Needed:
- Wooden board
- Nails
- Hammer
- Embroidery floss or string
- Pencil
Instructions:
- Draw your desired design on the wooden board using a pencil.
- Hammer nails around the outline of your design, spacing them closely together.
- Thread the embroidery floss or string through the nails, creating a web-like pattern.
- Continue threading until the design is complete.
- Hang the string art on your wall and enjoy the intricate details.
5. Vinyl Stickers

Materials Needed:
- Vinyl sheets
- Cricut or Silhouette machine
- Transfer tape
- Cutting mat
- Squeegee
Instructions:
- Design your wall art using a graphic design software or templates.
- Cut the design out of the vinyl sheet using your cutting machine.
- Apply transfer tape to the vinyl design and carefully remove the backing.
- Position the vinyl on your wall and use a squeegee to smooth out any bubbles.
- Remove the transfer tape, leaving the vinyl design on the wall.
6. Floating Shelves
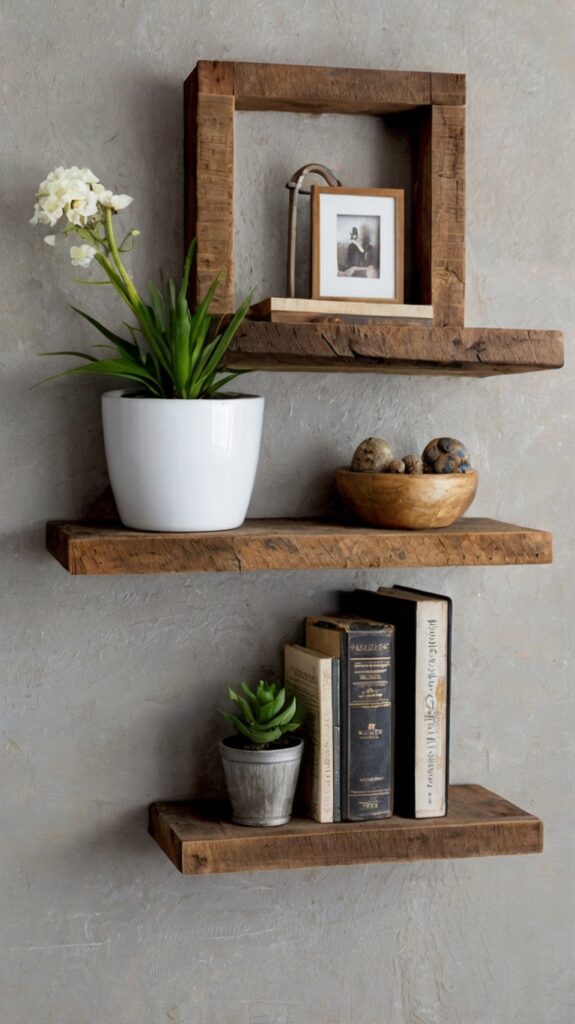
Materials Needed:
- Floating shelf brackets
- Wood planks
- Paint or stain
- Screwdriver
- Drill
Instructions:
- Choose the location for your floating shelves and mark the wall for drilling.
- Install the floating shelf brackets according to the manufacturer’s instructions.
- Cut the wood planks to the desired length and paint or stain them.
- Attach the wood planks to the brackets and secure them with screws.
- Decorate the shelves with books, plants, or other decorative items.
Also Read: 15 Apartment Balcony Decorating Ideas to Elevate Your Outdoor Space
7. Fabric Wall Art
Materials Needed:
- Stretch fabric
- Wooden frame
- Staple gun
- Scissors
Instructions:
- Cut the stretch fabric to fit the wooden frame, leaving extra fabric around the edges.
- Place the fabric over the frame and staple it to the back, pulling it taut as you go.
- Trim any excess fabric for a clean finish.
- Hang the fabric wall art on your wall and enjoy the textured look.
8. Chalkboard Wall

Materials Needed:
- Chalkboard paint
- Paintbrushes
- Roller
- Painter’s tape
- Chalk
Instructions:
- Choose a section of your wall to transform into a chalkboard.
- Use painter’s tape to create a border around the area.
- Apply several coats of chalkboard paint, allowing each coat to dry completely.
- Once the paint is dry, remove the tape and use chalk to write messages or draw designs.
- Hang the chalkboard wall art on your wall for a functional and stylish addition.
9. Shadow Box

Materials Needed:
- Shadow box frame
- Decorative items (e.g., seashells, feathers, small trinkets)
- Adhesive
- Scissors
Instructions:
- Choose a shadow box frame that fits your desired size and style.
- Arrange your decorative items inside the frame, creating a balanced and visually appealing composition.
- Use adhesive to secure the items to the back of the frame.
- Close the frame and hang it on your wall.
10. Metal Art

Materials Needed:
- Metal sheet
- Metal cutting tools
- Paint or metal finish
- Drill
- Screwdriver
Instructions:
- Cut the metal sheet into your desired shape using metal cutting tools.
- Sand the edges to smooth them out.
- Paint or apply a metal finish to the sheet.
- Drill holes in the top corners of the metal sheet for hanging.
- Hang the metal art on your wall using screws or nails.
11. Wooden Plank Wall Art

Materials Needed:
- Wooden planks
- Paint or stain
- Sandpaper
- Saw
- Drill
- Screwdriver
Instructions:
- Cut the wooden planks to the desired length.
- Sand the planks to smooth out any rough edges.
- Paint or stain the planks to match your decor.
- Drill holes in the top corners of the planks for hanging.
- Hang the wooden planks on your wall, spacing them evenly.
12. Twig Frame

Materials Needed:
- Twigs
- Hot glue gun
- Picture frame
- Scissors
Instructions:
- Collect twigs of various lengths and thicknesses.
- Arrange the twigs around the picture frame, creating a natural and rustic look.
- Use a hot glue gun to secure the twigs to the frame.
- Insert a photo or art print into the frame.
- Hang the twig frame on your wall for a unique and earthy touch.
Also Read: 15 Apartment Decorating Ideas for Men: Creating a Stylish and Comfortable Home
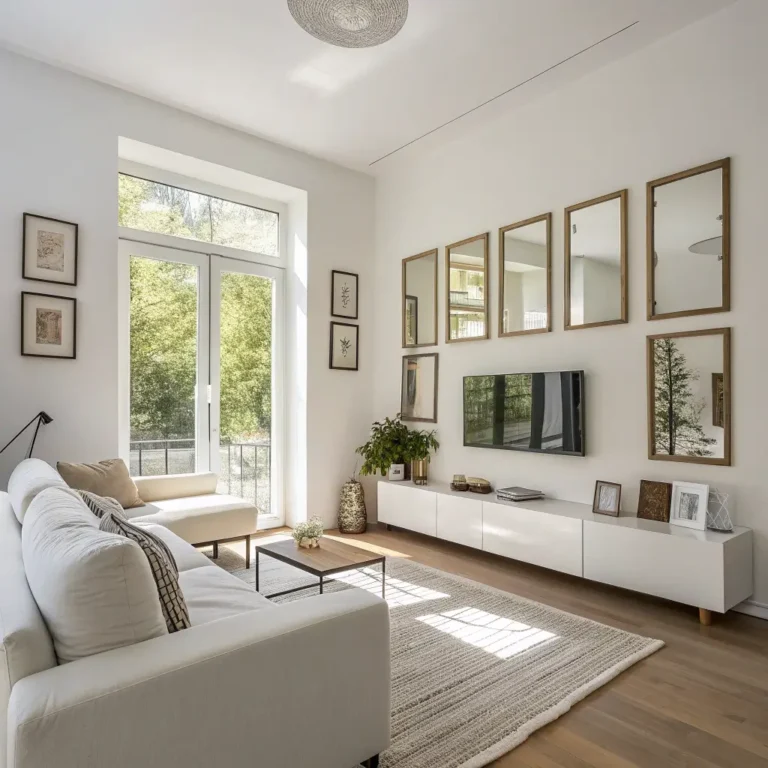
13. Mirrored Wall Art

Materials Needed:
- Mirrored tiles
- Adhesive
- Wooden frame
- Saw
- Sandpaper
Instructions:
- Cut the wooden frame to the desired size.
- Sand the edges to smooth them out.
- Arrange the mirrored tiles inside the frame, creating a mosaic pattern.
- Use adhesive to secure the tiles to the frame.
- Hang the mirrored wall art on your wall to add depth and light.
14. Rope Wall Art

Materials Needed:
- Rope
- Wooden dowel
- Drill
- Screwdriver
- Scissors
Instructions:
- Cut several lengths of rope, each twice the length of your desired hanging.
- Fold each length in half and loop it over the wooden dowel, pulling the loose ends through the loop to secure.
- Braid or twist the rope to create your design.
- Trim the ends of the rope for a neat finish.
- Hang the rope wall art on your wall for a nautical or bohemian look.
15. Pallet Wall Art

Materials Needed:
- Wooden pallet
- Paint or stain
- Sandpaper
- Saw
- Drill
- Screwdriver
Instructions:
- Cut the wooden pallet to the desired size.
- Sand the pallet to smooth out any rough edges.
- Paint or stain the pallet to match your decor.
- Drill holes in the top corners of the pallet for hanging.
- Hang the pallet on your wall and decorate it with plants, photos, or other items.
Conclusion
DIY wall decor is a fantastic way to add a personal touch to your home while also saving money. Whether you’re creating painted canvases, macramé hangings, or wooden planks, there are countless projects to choose from. By following the steps outlined in this blog post, you can transform your space with unique and beautiful wall art. So, gather your materials, roll up your sleeves, and get creative!