15 Stylish Mini Coffee Bar Small Spaces Setups to Try
Look, I get it. You love coffee—like, really love coffee—but your apartment has the square footage of a shoebox. Trust me, I’ve been there. Standing in my cramped kitchen, clutching my French press, wondering where on earth I could create a dedicated coffee space without sacrificing my already pathetic counter space. But here’s the thing: small spaces don’t mean you have to sacrifice your coffee bar dreams.
I’ve spent way too much time (and honestly, too much money) experimenting with different setups to create the perfect coffee corner. Some worked brilliantly. Others? Let’s just say they taught me valuable lessons about what not to do. So grab your favorite mug, and let me walk you through 15 seriously stylish mini coffee bar setups that actually work in small spaces.
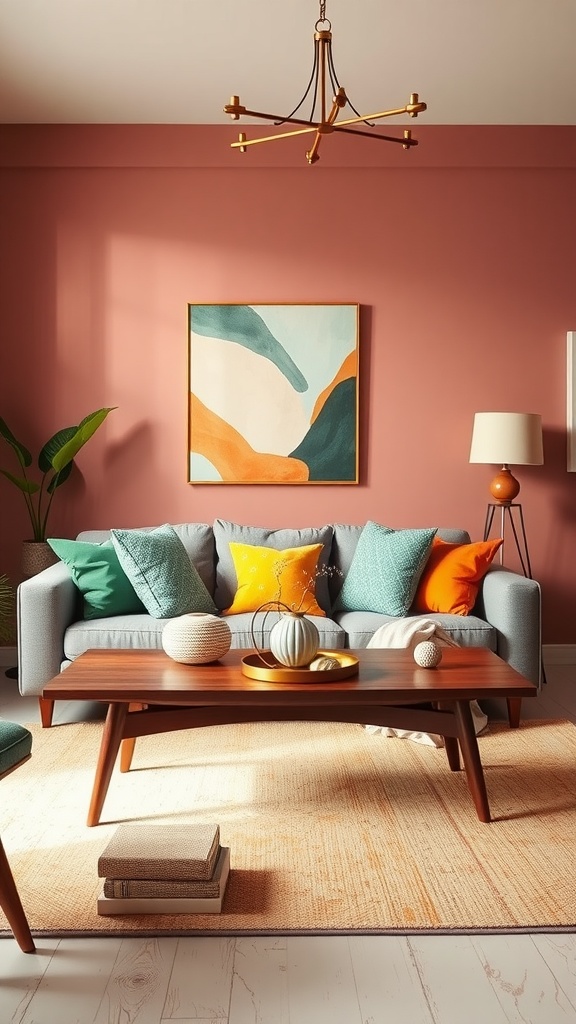
Corner Coffee Nook Makeover
Ever notice how corners are basically the forgotten real estate of any room? We shove a plant there, maybe a lamp, and call it a day. But corners can become your new favorite coffee spot with just a little creativity.
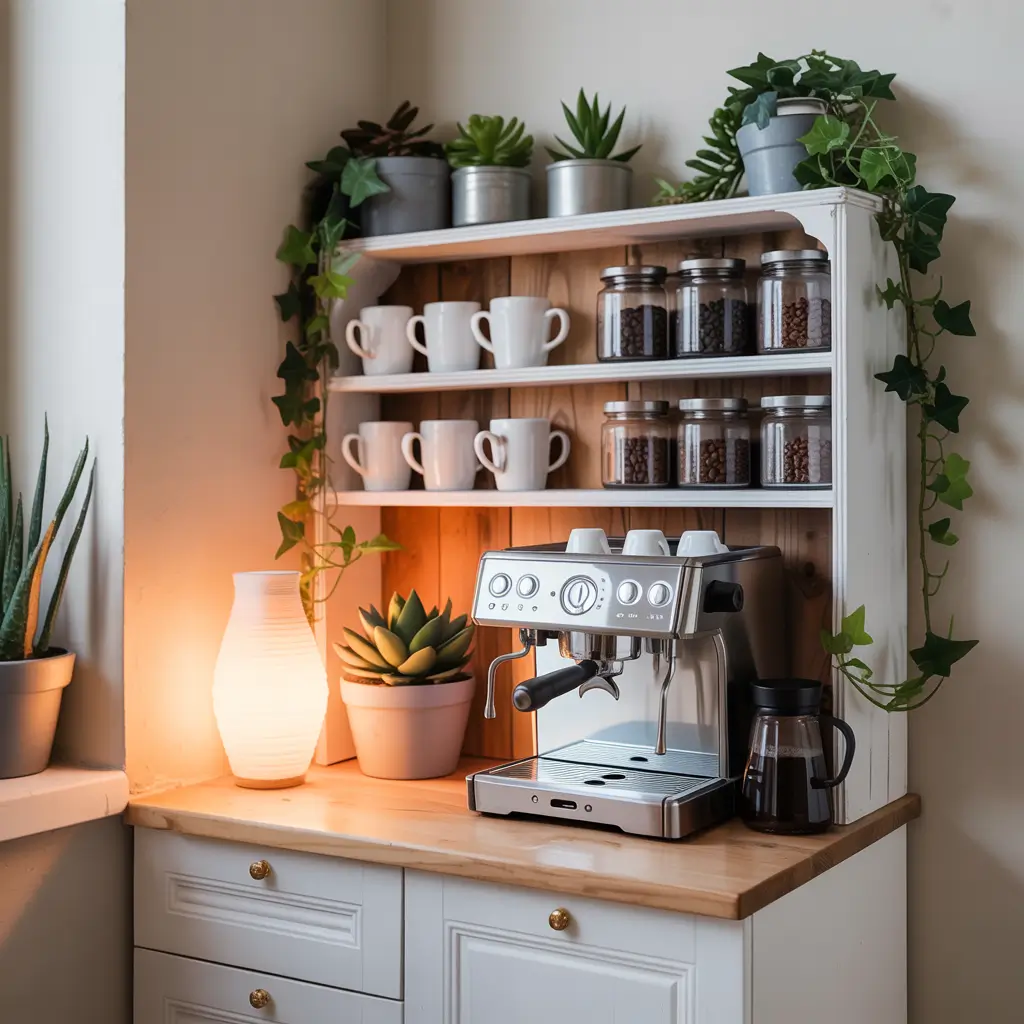
I transformed my awkward kitchen corner last year, and honestly, it changed my entire morning routine. You can use a small corner table or shelf (even those tiny IKEA ones work perfectly) and create a cozy two-tier setup. Put your coffee maker on the bottom level and store your mugs and beans on the upper shelf.
What makes this setup brilliant is the vertical space you’re utilizing. Stack those cute coffee-themed books, add a small plant, and boom—you’ve got an Instagram-worthy coffee corner that takes up maybe two square feet of floor space. The corner naturally creates boundaries, so your coffee station feels intentional rather than crammed.
Key elements for your corner nook:
- Small corner shelf or triangular table
- Wall hooks for mugs (saves shelf space!)
- Compact coffee maker (pour-over or single-serve work best)
- Small canister set for beans and sugar
- Decorative tray to corral everything
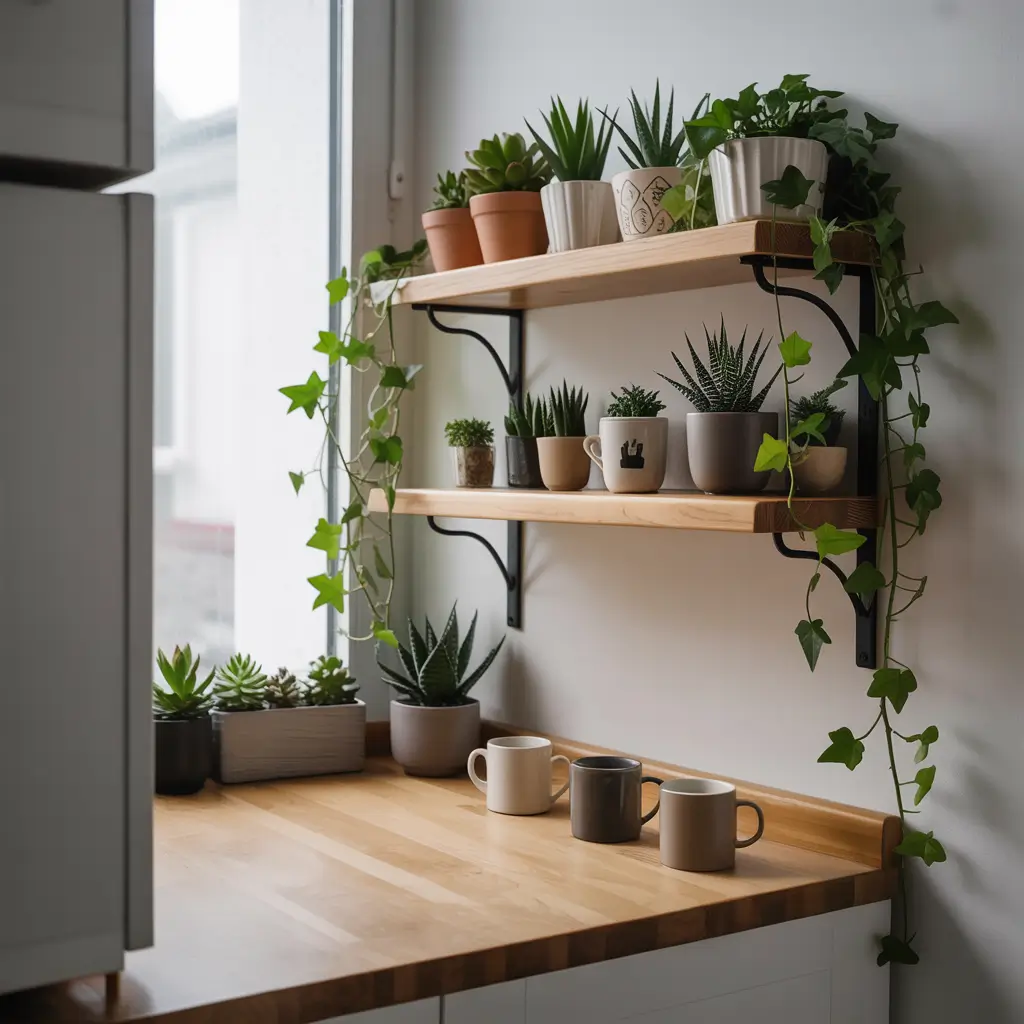
Floating Shelves Coffee Station
Floating shelves are like magic for small spaces. They give you storage without eating up any floor space, and they look way more sophisticated than you’d expect for something so simple.
I installed three floating shelves above my kitchen counter, and suddenly I had a full coffee bar without losing a single inch of counter space. The bottom shelf holds my espresso machine, the middle one stores mugs and glasses, and the top shelf? That’s where I keep the fancy stuff—my collection of single-origin beans and my vintage grinder that I absolutely didn’t need but bought anyway.
The trick here is proper spacing. You want enough room between shelves to actually use your coffee maker without bumping into the shelf above. I learned this the hard way when I initially spaced mine too close together and couldn’t lift my French press lid. Oops.
Floating shelf setup essentials:
- Three shelves in varying lengths (creates visual interest)
- Bottom shelf: 14-16 inches from counter
- LED strip lighting underneath (total game-changer for morning prep)
- Mix decorative items with functional pieces
- Use shelf risers to maximize vertical space on each level
Compact Rolling Coffee Cart
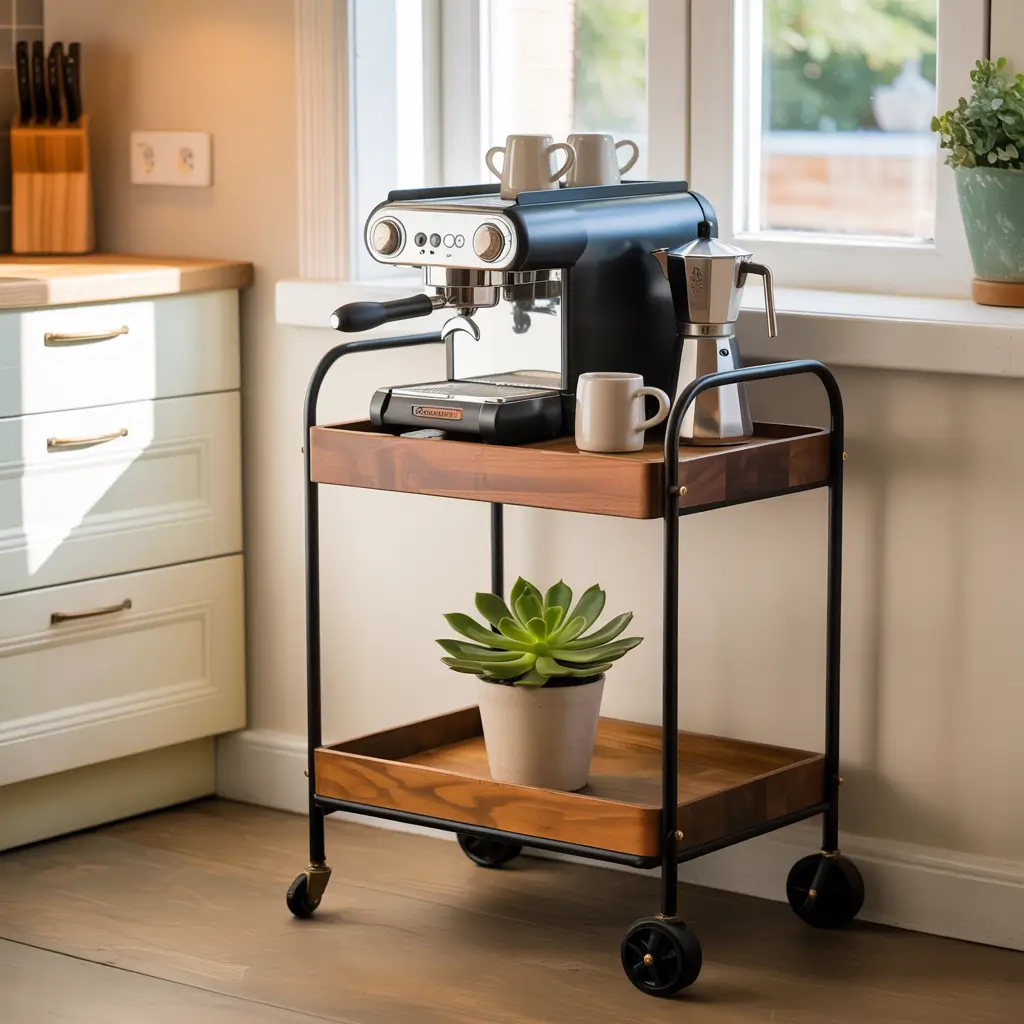
Can we talk about how rolling carts are basically the Swiss Army knife of small space living? I bought mine thinking I’d use it for coffee, but it’s pulled double duty for everything from extra kitchen prep to a mobile bar cart for parties.
Rolling carts give you flexibility that fixed installations just can’t match. Need extra counter space for cooking? Roll that baby out of the way. Having friends over? Turn it into a self-serve coffee station in your living room. This setup works especially well in studio apartments where every piece of furniture needs to multitask.
Look for a cart with at least two tiers—three is even better. The top tier holds your coffee maker, the middle stores mugs and accessories, and the bottom? Perfect for extra supplies, napkins, or that coffee table book you picked up about coffee culture.
What to look for in a coffee cart:
- Sturdy wheels with locks (trust me on this one)
- Metal or wood construction (avoid flimsy plastic)
- At least 15-18 inches wide
- Removable top tray for easy cleaning
- Open sides for easy access
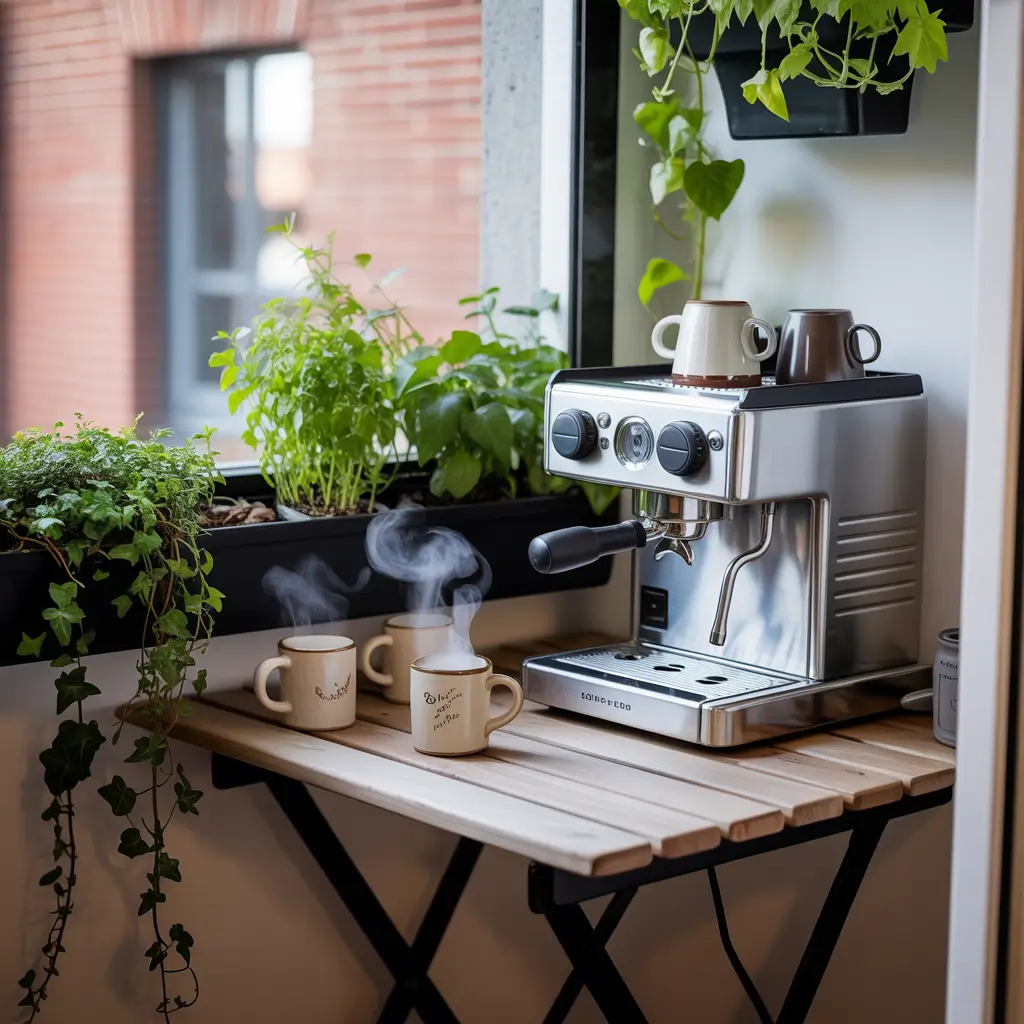
Window-Ledge Espresso Bar
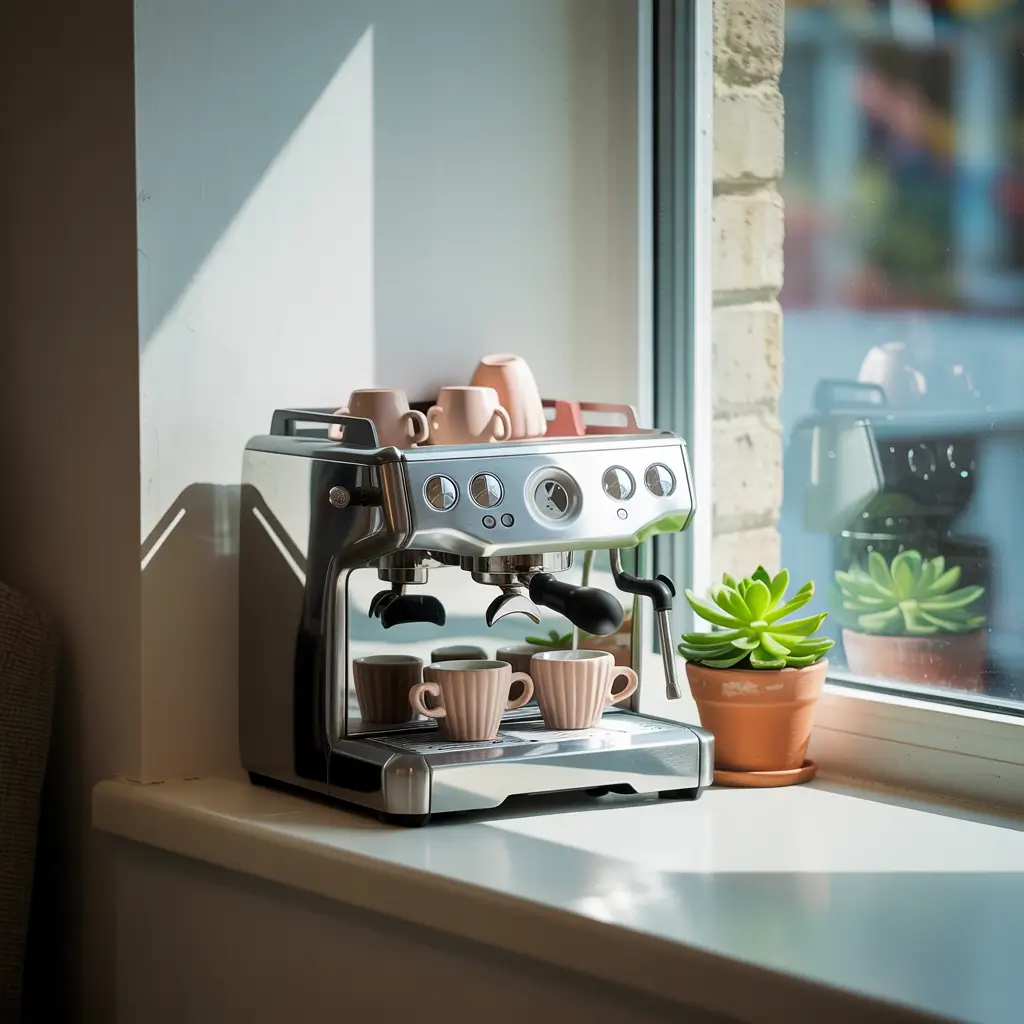
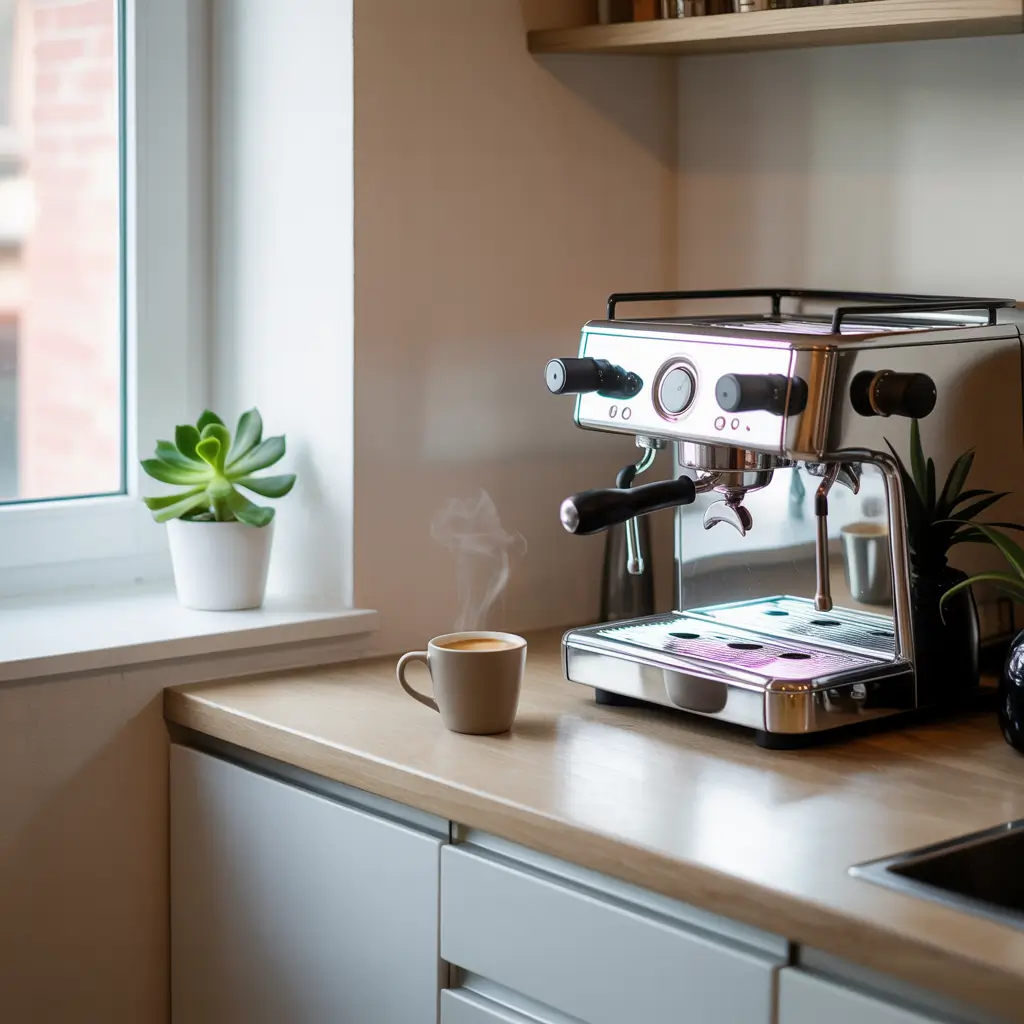
This one’s for you if you’ve got a decent window ledge and love natural light with your morning brew. There’s something ridiculously pleasant about making coffee while looking outside—it makes even Monday mornings more bearable.
I set this up in my last apartment where I had a deep kitchen window sill. The natural light meant I could actually see what I was doing before my first cup kicked in 🙂 Just make sure your window ledge is deep enough (at least 8-10 inches) and sturdy enough to handle the weight of your equipment.
This setup works best with compact brewing methods. Think pour-over setups, Aeropress, or a small single-serve machine. Your full-size espresso machine? Probably not the best choice here unless you’ve got a seriously robust window ledge.
Window-ledge setup tips:
- Test weight capacity before committing
- Use a non-slip mat underneath equipment
- Install a small shelf above for mug storage
- Add a small tension rod with S-hooks for hanging mugs
- Keep canisters minimal (2-3 max)
- Consider sun exposure (beans don’t love direct sunlight)
Also Read: 15 Stylish Built-In Coffee Bar Ideas and Functional Corners
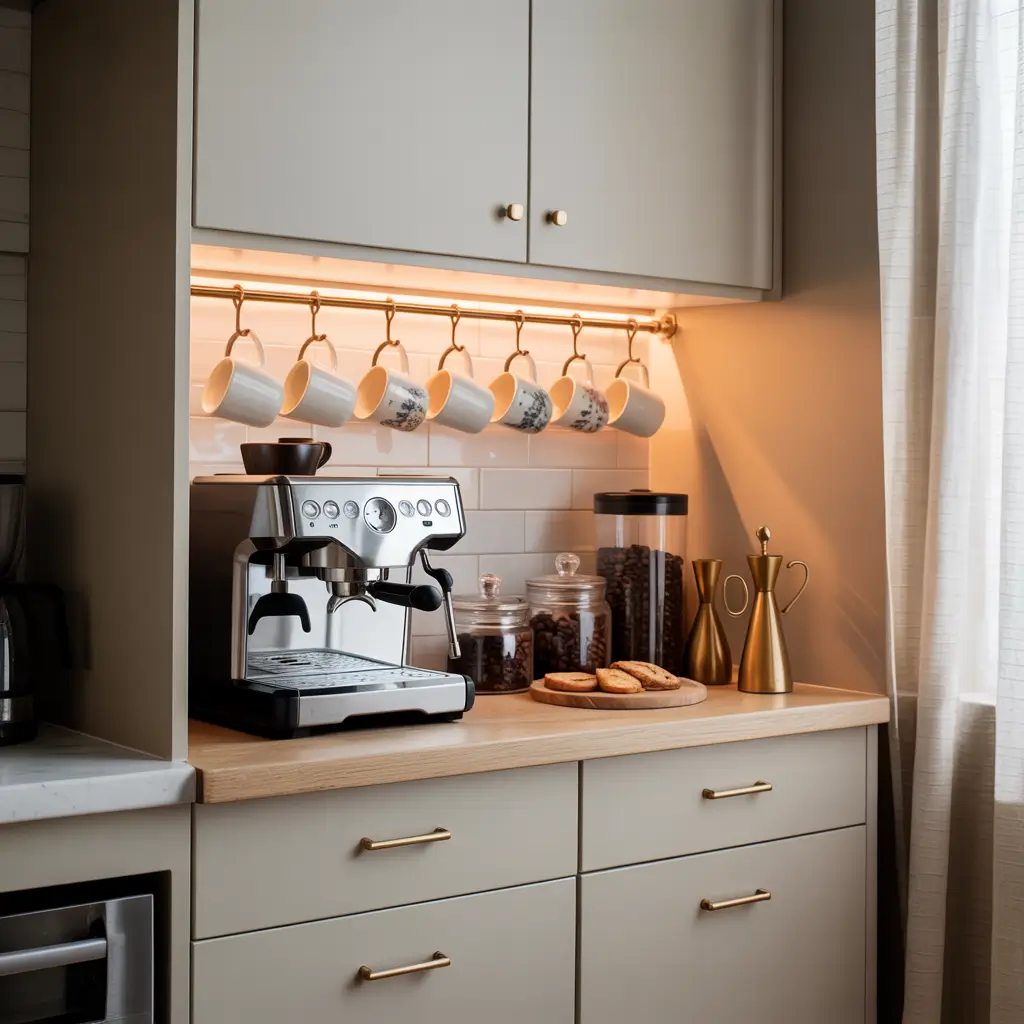
Wall-Mounted Coffee Organizer

When floor space is basically non-existent, you’ve gotta look up. Wall-mounted organizers are clutch for creating a coffee station out of thin air. I’m talking pegboards, wall-mounted shelves with hooks, magnetic strips—the whole nine yards.
My personal favorite? A custom pegboard setup that I painted to match my kitchen. You can configure it exactly how you need it, and when your needs change, you just move the pegs around. Plus, it looks super organized and intentional even when you’re displaying everyday items.
The beauty of wall-mounted systems is that they keep everything visible and accessible. No more digging through cabinets to find your favorite mug or that specialty coffee scoop you swore you put “somewhere safe.”
Wall-mounted organizer ideas:
- Pegboard with customizable hooks and shelves
- Magnetic knife strip repurposed for metal scoops and tools
- Wall-mounted mug rack with shelf above
- Floating box shelves in different sizes
- Command hooks for lightweight items (if you’re renting)
Under-Cabinet Mini Coffee Bar
Here’s a setup that blew my mind when I first saw it: utilizing that dead space under your upper cabinets. You know that awkward zone between your counter and cabinets? Yeah, that’s prime real estate you’re probably wasting.
Under-cabinet coffee makers exist specifically for this purpose, but you can also get creative with regular equipment. I mounted a under-cabinet shelf that drops down about 10 inches and holds my pour-over setup perfectly. Everything tucks up and out of the way when I’m not using it.
The best part? Your counters stay completely clear. This is especially clutch if you’ve got a small kitchen where you need every inch of counter space for actual cooking. FYI, this works brilliantly for folks who don’t want their coffee station on display 24/7.
Under-cabinet setup components:
- Under-cabinet coffee maker OR
- Mounted shelf for standard equipment
- Under-cabinet mug hooks
- Small under-cabinet basket for pods/filters
- Mounted paper towel holder (doubles as coffee filter holder)
Fold-Down Coffee Counter
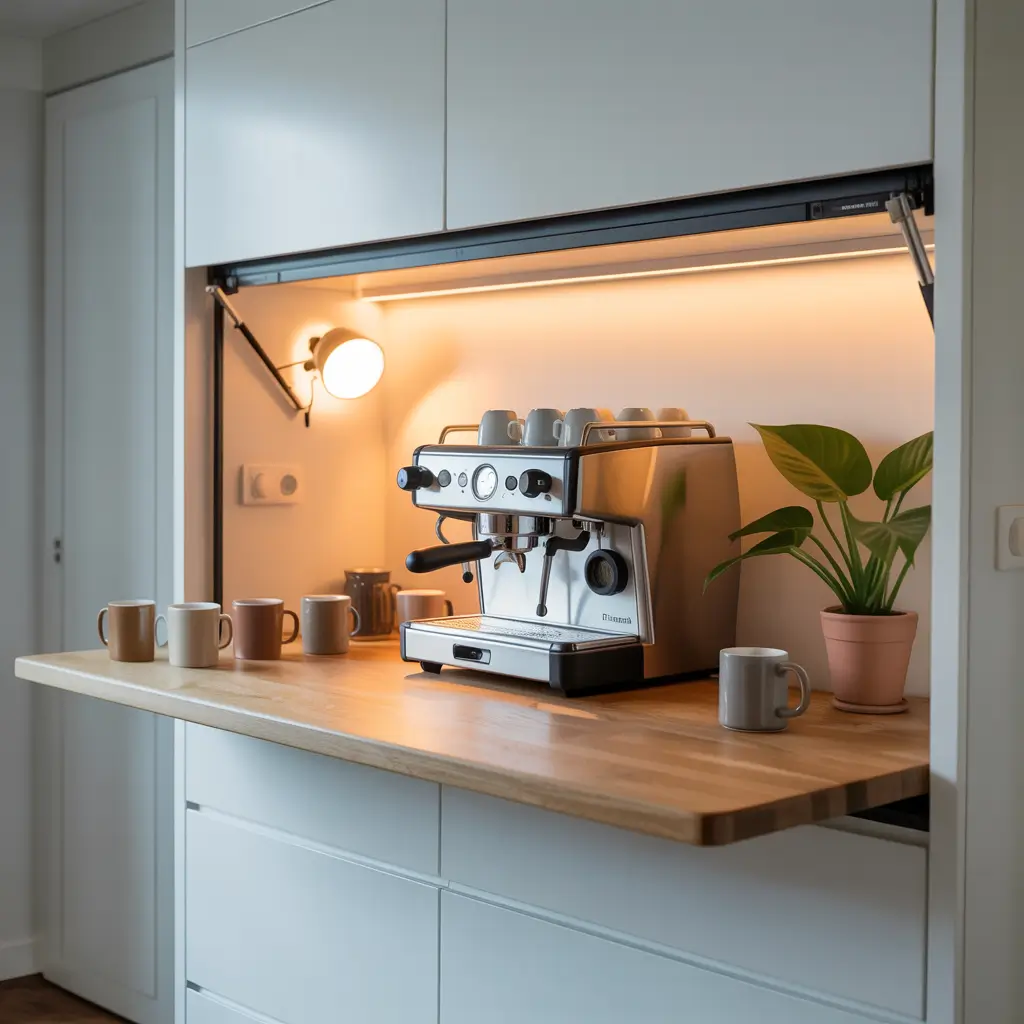
Okay, this one’s a bit more involved, but hear me out. Fold-down counters (also called drop-leaf or wall-mounted tables) give you a full coffee bar when you need it and completely disappear when you don’t.
I installed one of these in my tiny city apartment, and people always ask about it. You mount a hinged shelf or table to the wall, and when you want coffee, you fold it down. When you’re done? Fold it back up, and it’s just a slim profile against the wall. Some designs even have built-in storage that’s accessible when it’s folded up.
This setup requires a bit more DIY confidence (or a handy friend), but the payoff is huge. You essentially create counter space from nothing, and it looks way cooler than it has any right to.
Fold-down counter considerations:
- Proper wall stud mounting (non-negotiable for safety)
- Sturdy hinges rated for the weight
- Small footprint coffee maker
- Wall-mounted storage above for when counter is up
- Chain or support bracket to hold counter when extended
Tiny Kitchen Coffee Corner
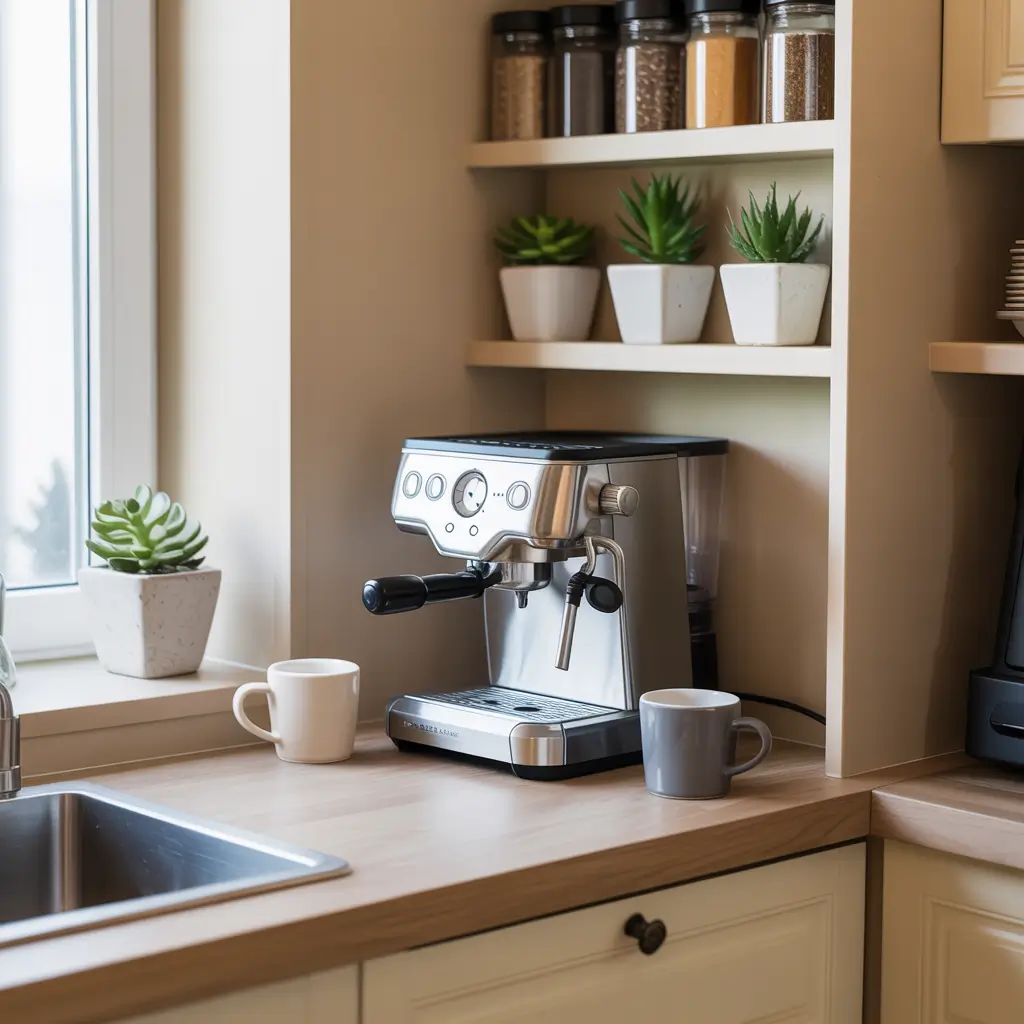
Sometimes you’ve just gotta work with what you’ve got, and what you’ve got is 18 inches of counter space next to your sink. I feel you. My first apartment had a kitchen so small I could literally touch both walls while standing in the middle.
The key to a successful tiny kitchen coffee corner is ruthless minimalism. You can’t have everything, so choose your coffee essentials and commit. For me, that meant a compact drip coffee maker, three mugs (one for me, two for guests), and a small canister for beans. That’s it.
Use a decorative tray to corral everything. This makes your mini setup look intentional rather than cluttered, plus you can slide the whole thing out of the way when you need the counter space. Choose items that serve double duty—like a coffee scoop that’s also pretty enough to leave out.
Tiny corner essentials:
- One compact brewing method (choose wisely!)
- Small tray to contain everything (12×18 inches max)
- Wall-mounted mug storage to free counter space
- One small canister (store bulk beans elsewhere)
- Slim profile milk frother if you’re a latte person
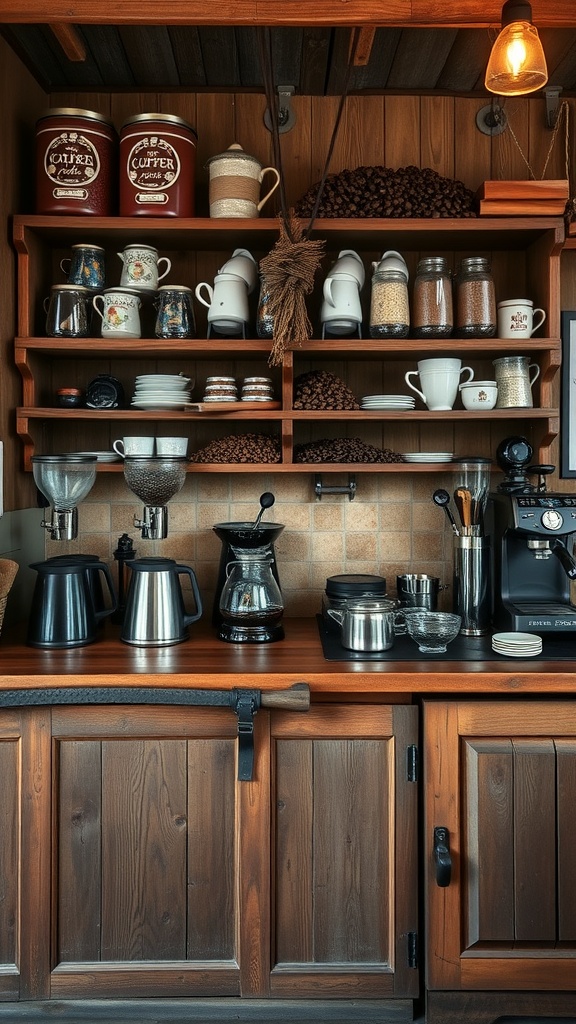
Multi-Tier Coffee Storage Rack
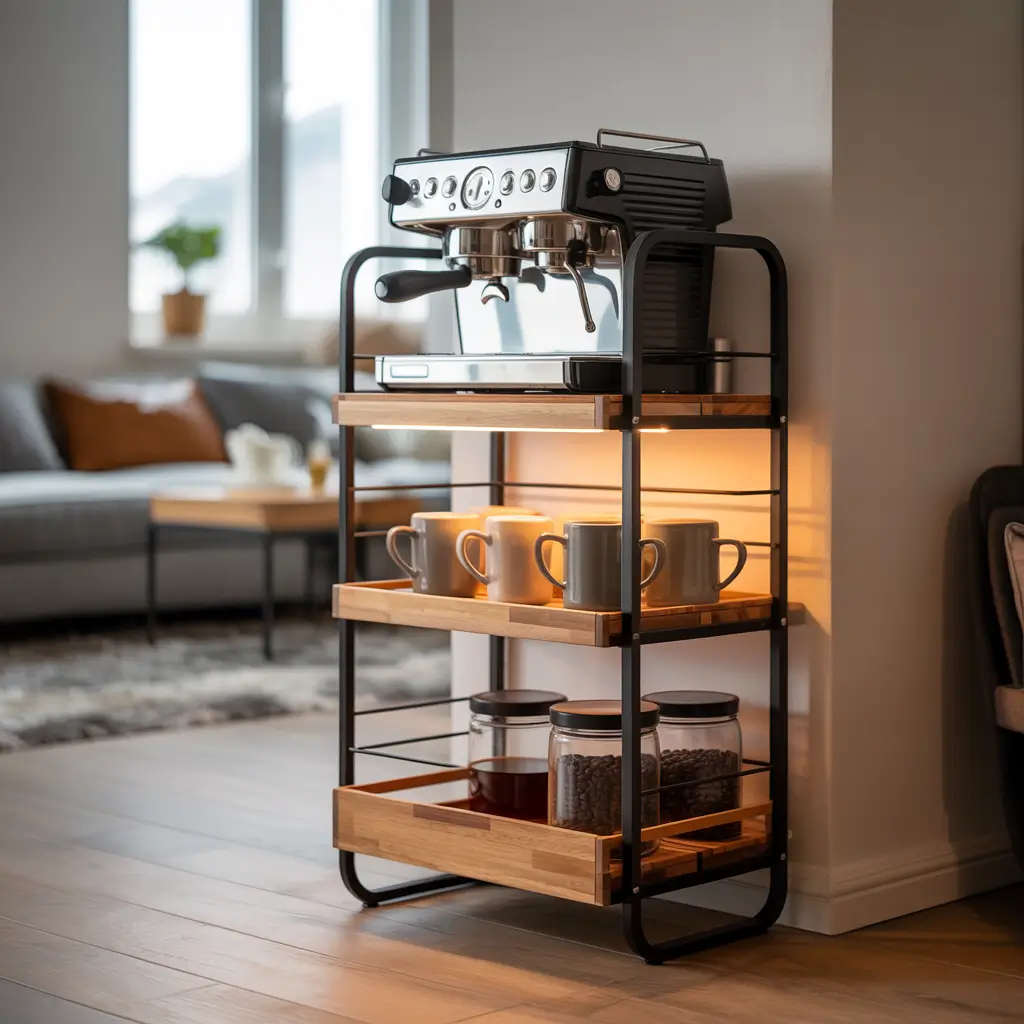
Multi-tier racks are seriously underrated. I’m talking about those standing shelf units that have 3-4 levels and take up minimal floor space. They’re perfect for creating a dedicated coffee zone without any wall mounting or permanent installation.
I found mine at a home goods store for like $30, and it’s been a workhorse. The compact footprint (usually around 12×12 inches) means you can tuck it into almost any space—next to your fridge, in a corner, even in a wide hallway if that’s what works.
The vertical storage gives you way more capacity than you’d expect. I fit my coffee maker on the bottom tier, mugs and glasses on the middle two, and all my supplies on the top. Plus, the open design keeps everything visible and accessible.
Multi-tier rack setup:
- Bottom tier: coffee maker or kettle
- Middle tiers: mugs, cups, small appliances
- Top tier: canisters, decorative items, plants
- Add small baskets for pods, filters, stirrers
- Use shelf liners to prevent sliding
- Bonus: wheels make it mobile if needed
DIY Coffee Bar Cabinet
If you’ve got even a tiny bit of DIY spirit, repurposing a small cabinet into a dedicated coffee bar is incredibly satisfying. I transformed an old TV stand into my coffee station, and honestly, I’m still pretty proud of it.
You can find small cabinets at thrift stores, Facebook Marketplace, or even IKEA. The magic happens when you customize it for coffee. Add hooks inside the door for mugs, install a small shelf for extra storage, maybe add a wine rack turned on its side for coffee pod storage (yes, this works brilliantly).
The closed cabinet design is perfect if you want to hide the mess. Let’s be honest—coffee stations can get cluttered with filters, scoops, half-empty bean bags, and random packets of sugar. A cabinet lets you close the doors and pretend you’re an organized person.
DIY cabinet coffee bar tips:
- Choose a cabinet 24-30 inches wide (any bigger defeats the “small space” purpose)
- Remove or adjust internal shelves to fit your coffee maker
- Cut a hole in the back for cord management
- Add battery-operated puck lights inside
- Paint or refinish to match your space
- Install drawer organizers for small items
Also Read: 15 Elegant DIY Coffee Bar Setups for a Cozy Corner
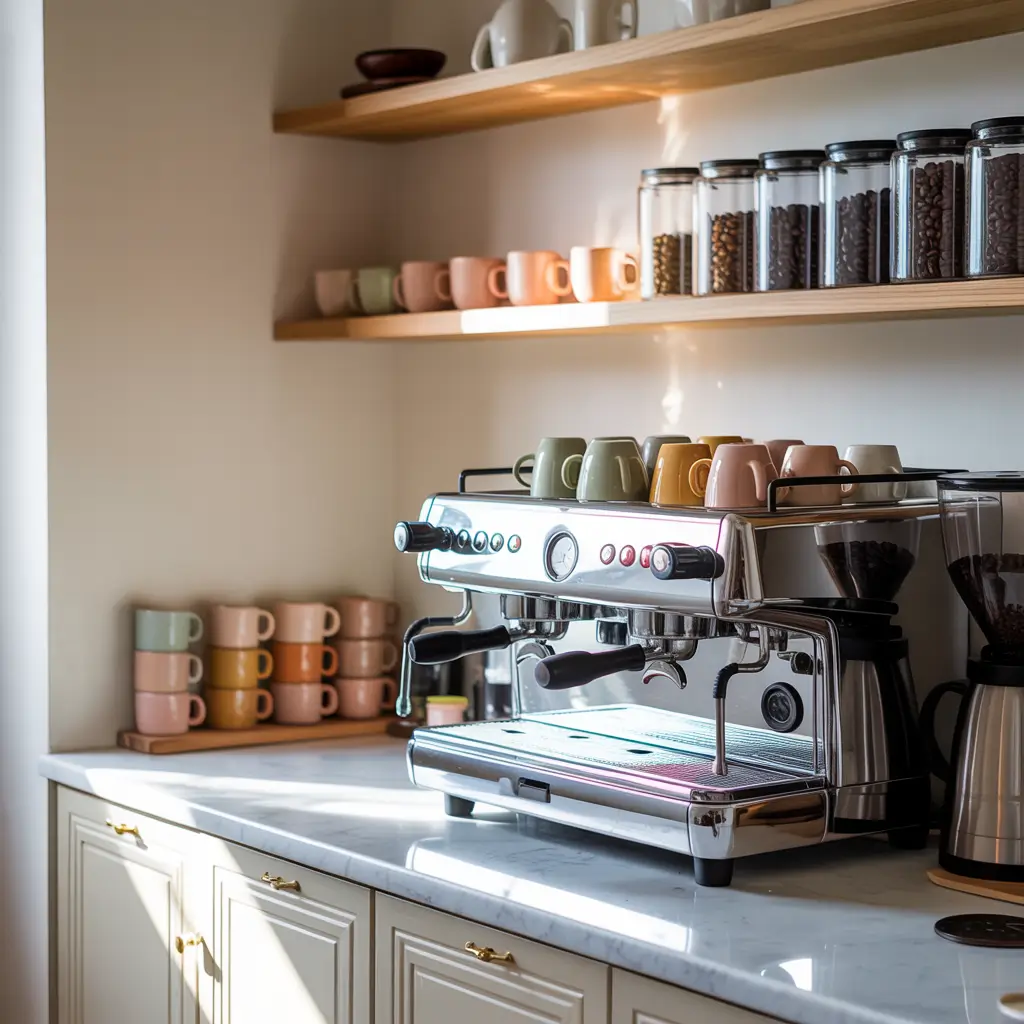
Minimalist Espresso Setup
Less is more, right? A minimalist espresso setup strips everything down to the absolute essentials. This approach works great for small spaces because you’re not trying to cram a bunch of stuff into limited area.
My minimalist phase lasted about three months before I started adding decorative elements back in, but I learned a lot about what I actually need versus what just looks cute. Your minimalist setup might include just an espresso machine, a grinder, and two cups. Everything else? Stored away until needed.
The aesthetic here is clean lines, neutral colors, and intentional empty space. Choose high-quality items that look good enough to display. This isn’t the setup for your plastic drip machine from college—invest in pieces that double as decor.
Minimalist setup rules:
- Limit to 5 items on display max
- Stick to a cohesive color palette (neutrals or monochrome)
- Quality over quantity (seriously, upgrade if needed)
- Clear counters except when actively making coffee
- Store beans in a single, beautiful canister
- No unnecessary gadgets (that milk frother can live in a drawer)
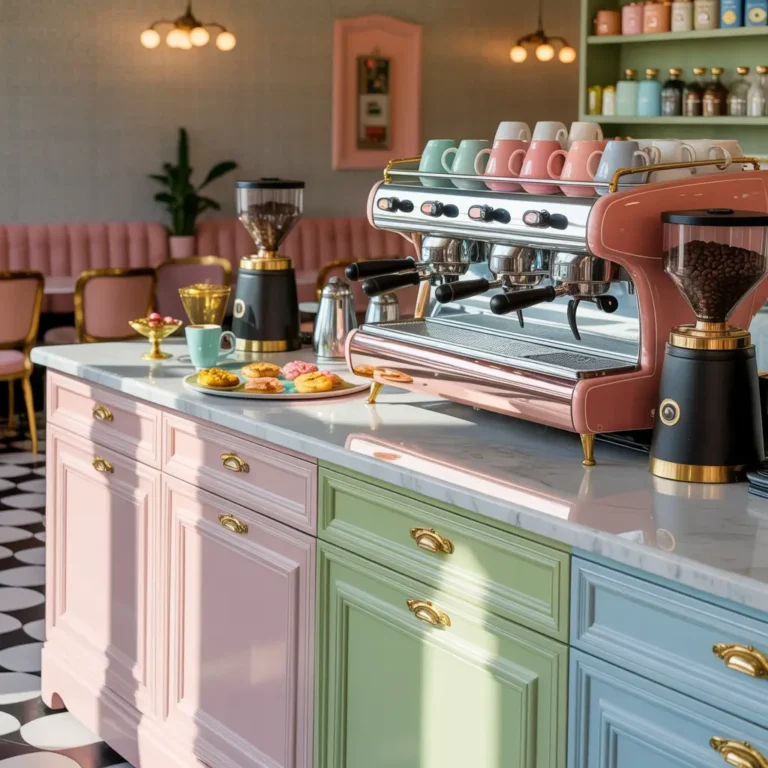
Scandinavian Style Coffee Nook
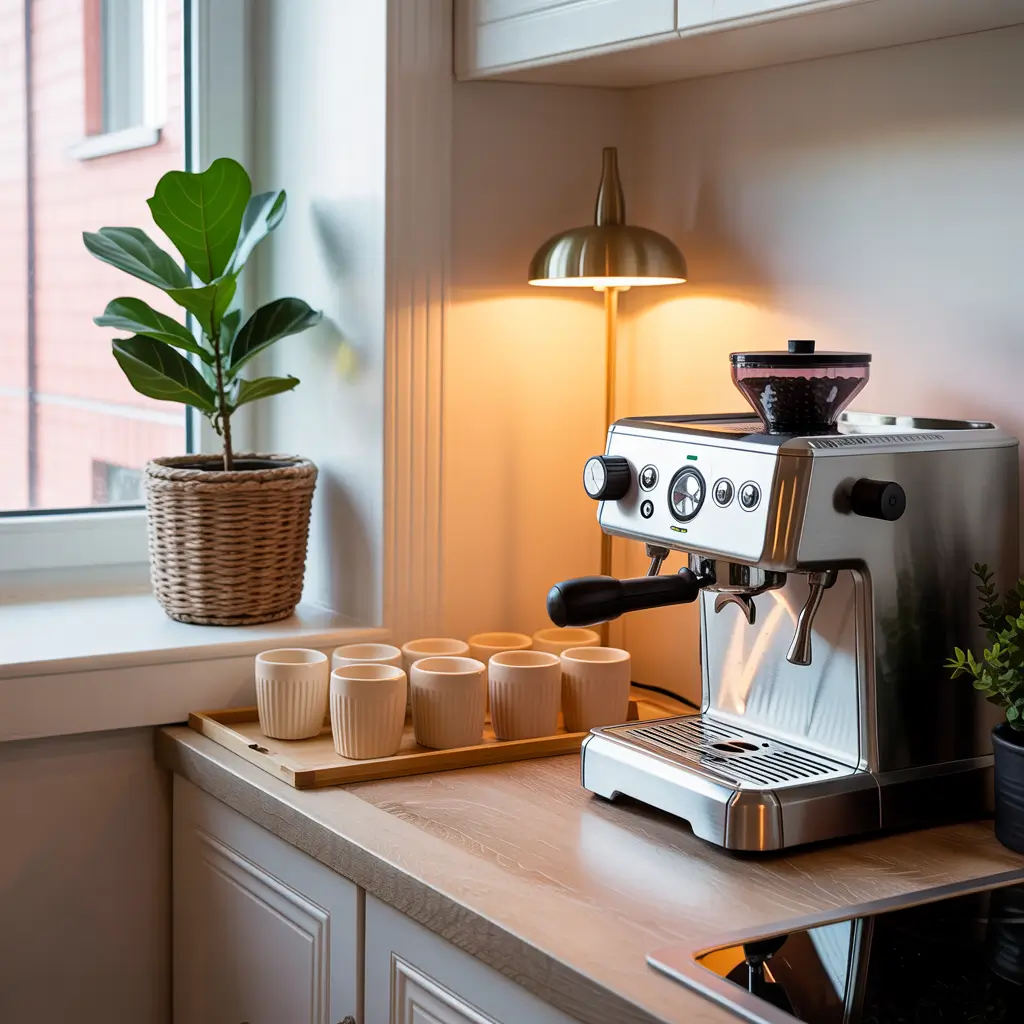
Scandinavian design is basically made for small spaces. The whole philosophy centers on functionality, simplicity, and making the most of limited square footage. Plus, it looks effortlessly cool.
I went full Scandi with my current coffee nook, and it makes me happy every single morning. Think light wood, white surfaces, and minimal accessories. The color palette stays neutral with maybe one or two accent colors (I chose sage green for my canisters and plant).
The Scandinavian approach emphasizes natural materials and clean lines. Your coffee setup becomes part of your overall aesthetic rather than looking like kitchen clutter. It’s coffee bar as design element, IMO.
Scandinavian coffee nook elements:
- Light wood shelving or cart
- White or neutral coffee maker
- Simple ceramic mugs in white, gray, or muted colors
- One or two plants (real preferred, but quality fakes work)
- Natural fiber basket for storage
- Minimal artwork or one statement piece
- Plenty of negative space (resist the urge to fill every inch)
Hidden Pantry Coffee Station
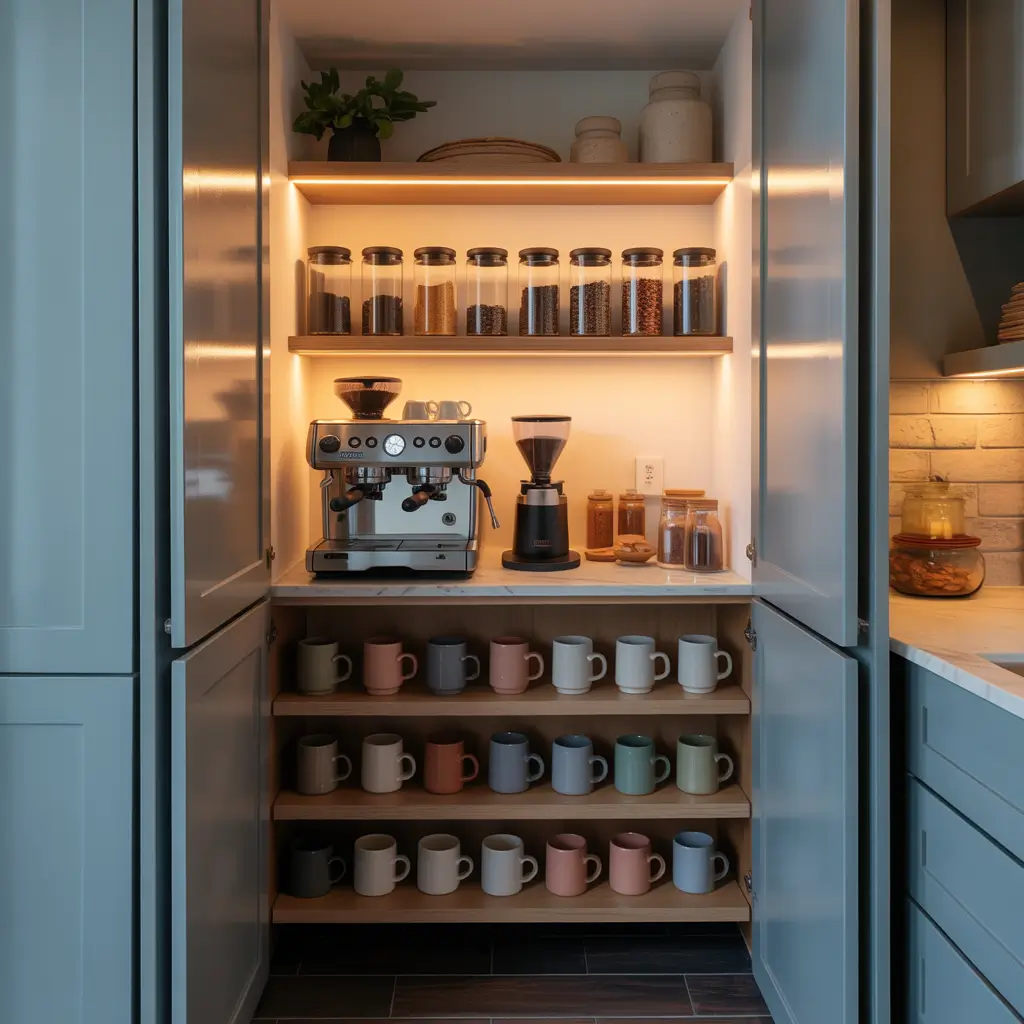
Want to know a secret? Some of the best coffee setups are completely hidden until you need them. If you’ve got a pantry, even a small one, you can create a pull-out or slide-out coffee station that disappears behind a door when not in use.
My friend did this in her galley kitchen, and I was so jealous I almost copied it exactly. She installed a pull-out shelf in her pantry that holds her coffee maker, and all her supplies sit on regular pantry shelves around it. When she wants coffee, she pulls out the shelf, plugs in the maker, and boom—instant coffee bar. When she’s done, everything slides back and the door closes.
This setup keeps your kitchen looking clean and uncluttered while still giving you a dedicated coffee space. Plus, it’s dark in there when the door is closed, which your coffee beans absolutely love.
Hidden pantry setup ideas:
- Install a pull-out shelf at counter height
- Use a power strip mounted inside for easy access
- Store mugs on hooks on the inside of the door
- Dedicate one pantry shelf to coffee supplies
- Add battery-operated motion lights for visibility
- Label everything (because pantries can get chaotic)
Apartment Balcony Coffee Spot
Okay, this one’s a bit unconventional, but if you’ve got a balcony—even a tiny one—why not make it your coffee spot? I’m not suggesting you haul your espresso machine outside every morning (although no judgment if that’s your thing). But a simplified outdoor coffee setup can be absolutely magical.
I set up a small side table on my balcony with a French press, a small container of ground coffee, and a couple of mugs. I boil water inside, bring it out, and make my coffee while watching the sunrise. It’s become my favorite weekend ritual, and it takes up zero space inside my apartment.
This works especially well in decent weather climates. If you deal with extreme temperatures or lots of rain, you might want a weatherproof storage solution nearby so you can quickly grab your coffee supplies without tracking through your apartment.
Balcony coffee spot essentials:
- Small weatherproof table or plant stand
- Manual brewing method (French press, pour-over, Aeropress)
- Weather-resistant storage box for supplies
- Thermal carafe to keep coffee hot
- Outdoor-safe mugs (not your fancy china)
- Small plant or two to complete the vibe
Convertible Coffee & Work Desk
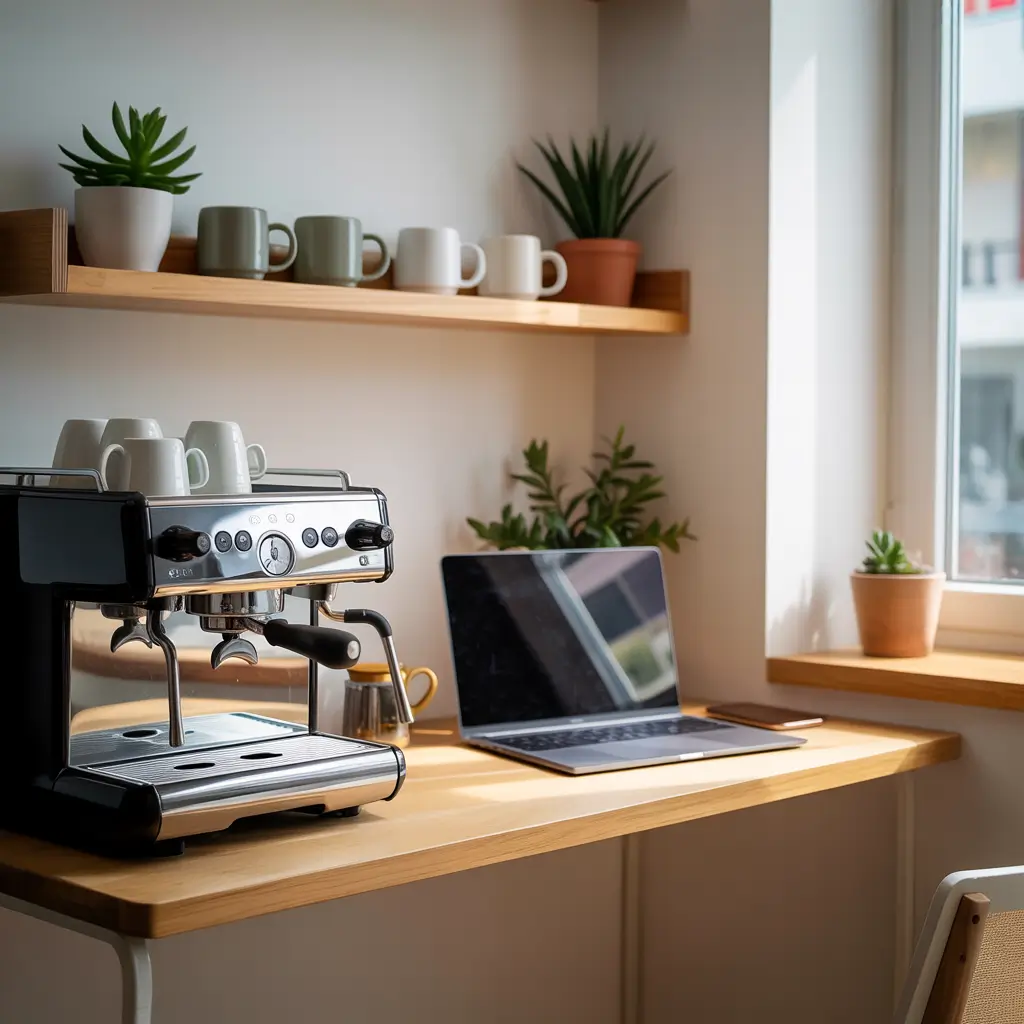
Last but definitely not least, let’s talk about the ultimate multitasker: a space that’s both your coffee bar AND your work desk. This setup saved my sanity during the work-from-home era, and I’m still using it.
The concept is simple: create a desk space that doubles as your coffee station. One end of the desk holds your laptop and work stuff, the other end is your coffee zone. When you need the full desk for work, your coffee setup is compact enough that you can easily move it aside.
I use a small tray system for this. All my coffee stuff sits on a 12×18 inch tray that I can slide over when I need more workspace. The coffee maker sits on a small shelf unit next to the desk so it’s accessible but not taking up precious desk real estate.
Convertible setup strategies:
- Use a desk at least 48 inches long (60+ is better)
- Dedicate one end to coffee, one to work
- Invest in a rolling side cart for the coffee maker
- Use a tray to corral coffee items for easy moving
- Wall-mount as much as possible (mugs, supplies)
- Choose a compact, quiet coffee maker (you’ll be on video calls)
- Cable management is crucial (separate work and coffee cords)
Bringing It All Together
Look, creating a coffee bar in a small space isn’t about having the biggest setup or the most equipment. It’s about finding a solution that works for your specific space and habits. I’ve tried probably a dozen different configurations over the years, and each one taught me something about how I actually use my coffee setup.
Maybe you’re a minimalist who just needs a simple pour-over setup and one perfect mug. Or maybe you’re like me and want all the options—espresso, drip, French press—even if you only have 18 inches to work with. The setups I’ve shared here prove that you can absolutely have a stylish, functional coffee bar no matter how small your space.
The key is being intentional about what you include. Every item should earn its place. That decorative sign about coffee might be cute, but if it’s taking up space you need for actual mugs, it’s gotta go. Prioritize function first, then add style where you have room.
And honestly? Sometimes the constraint of a small space forces you to create something even better than if you had unlimited room. You get creative, you problem-solve, you find solutions you never would’ve considered otherwise. My favorite coffee setup wasn’t the one I had in my spacious suburban kitchen—it was the tiny corner I carved out in my first studio apartment, where every inch mattered and every choice was intentional.
Start with one of these setups that resonates with your space and your style. You don’t need to nail it perfectly on the first try. I sure didn’t. But you’ll figure out what works, what doesn’t, and how to make your small space work harder for you.